
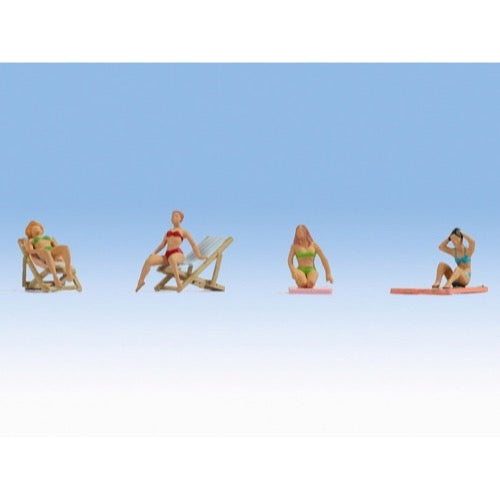
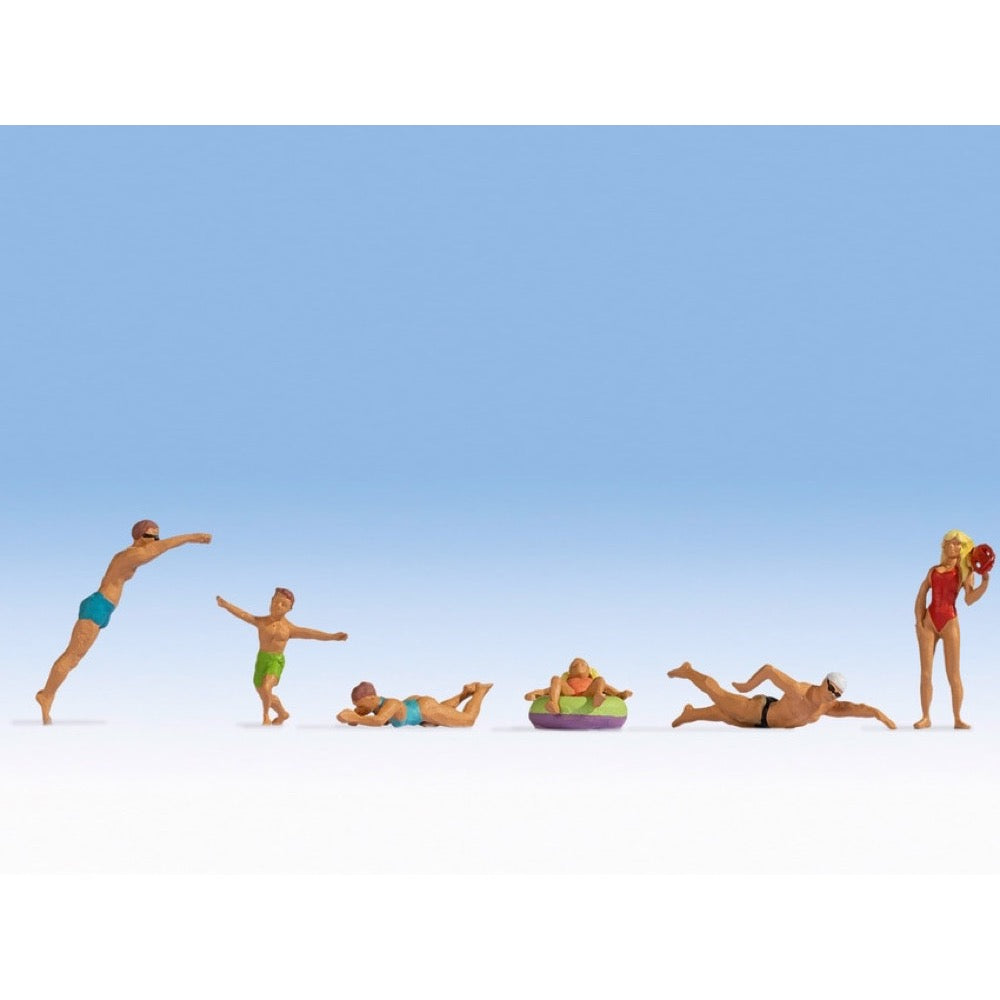
Noch 36849 N Bathing
Bathing
Holiday at the Beach
The N gauge NOCH Figures »Bathing« should not be missing in summer. Is there anything nicer than lying on a towel on a summer meadow in the sun? The bathers enjoy their holiday at the beach on a hot summer’s day. The Figures Set»Bathing« is the perfect miniature figure set for a hot and sunny summer.
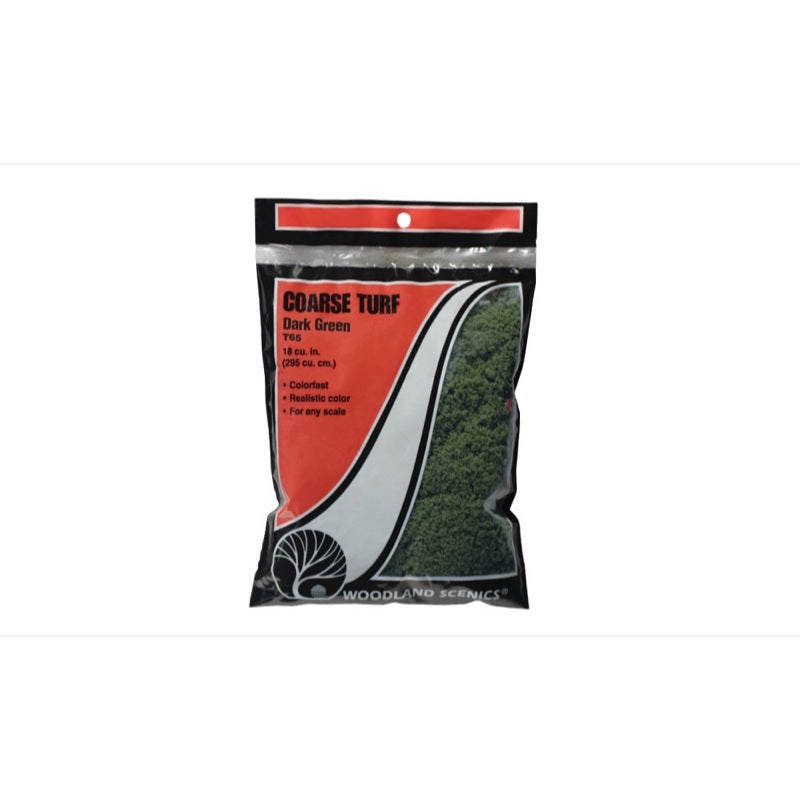
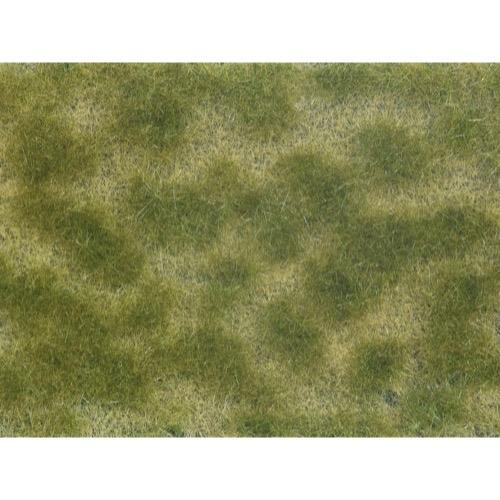
Woodland Scenics T65 Dark Green Coarse Turf
Woodland Scenics, along with its PineCar and Scene-A-Rama divisions, manufactures model scenery, gravity-driven pinewood racecars and educational arts and crafts. Founded in 1975, Woodland Scenics is considered the prime innovator-inventor of realistic model railroad scenery and the industry leader responsible for setting the current industry standards.
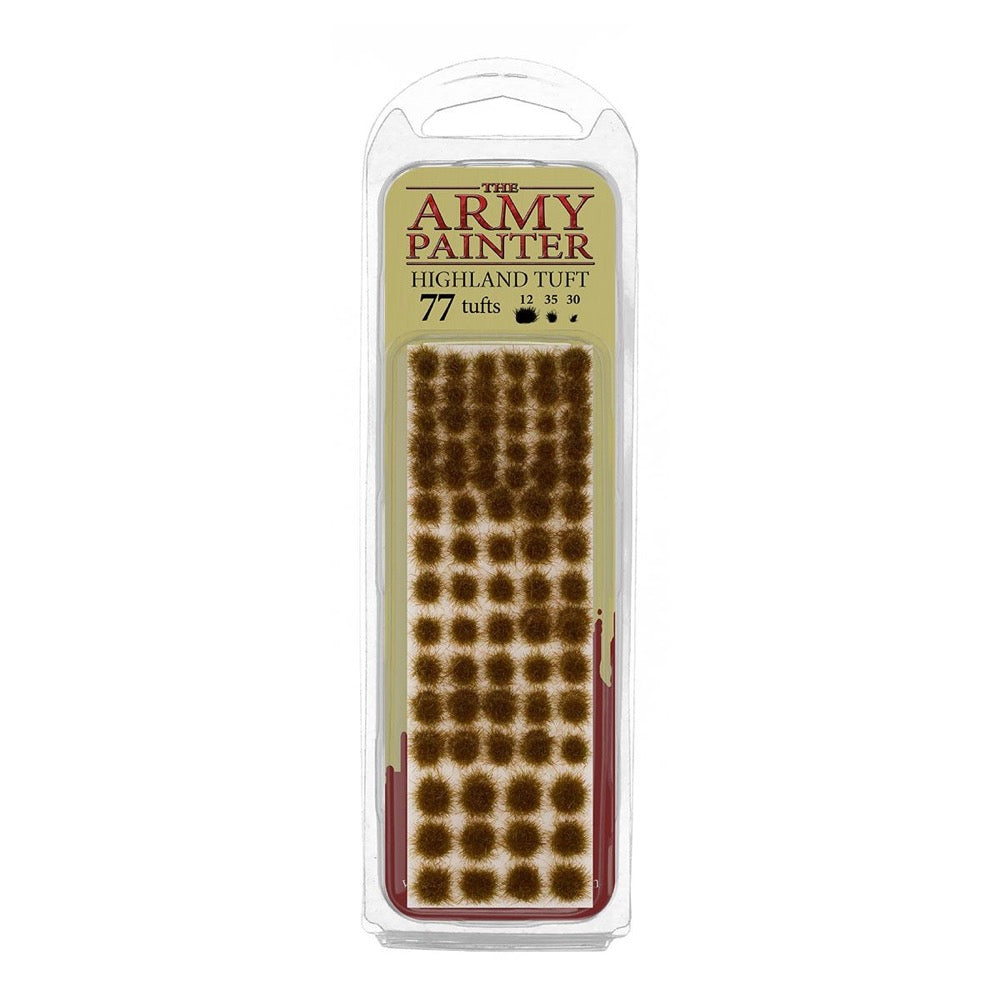
The Army Painter BF4222 Highland Tuft
Rolling hills and deep lochs, the Highland Tuft lets you mimic this mysterious scenery. Super realistic look and comes in 3 different sizes for any base sizes. Attach easily with our Tweezer Set and Super Glue.
Contains 77 tufts.
How to use
- Use our Tweezers Set to select and hold a single tuft
- Add glue to the bottom, if you want speedy adhesion use Super Glue
- Using Tweezers set the tuft exactly where you want and let dry
- Super Glue vs. Battlefield Basing Glue
You can use both our Super Glue and our Battlefield Basing Glue. If your are going to mount a lot of tufts then having a little cup of Battlefield Basing Glue to dip the tuft in and make the process flow easier - but for speedy mounting of tufts Super Glue is the way to go.
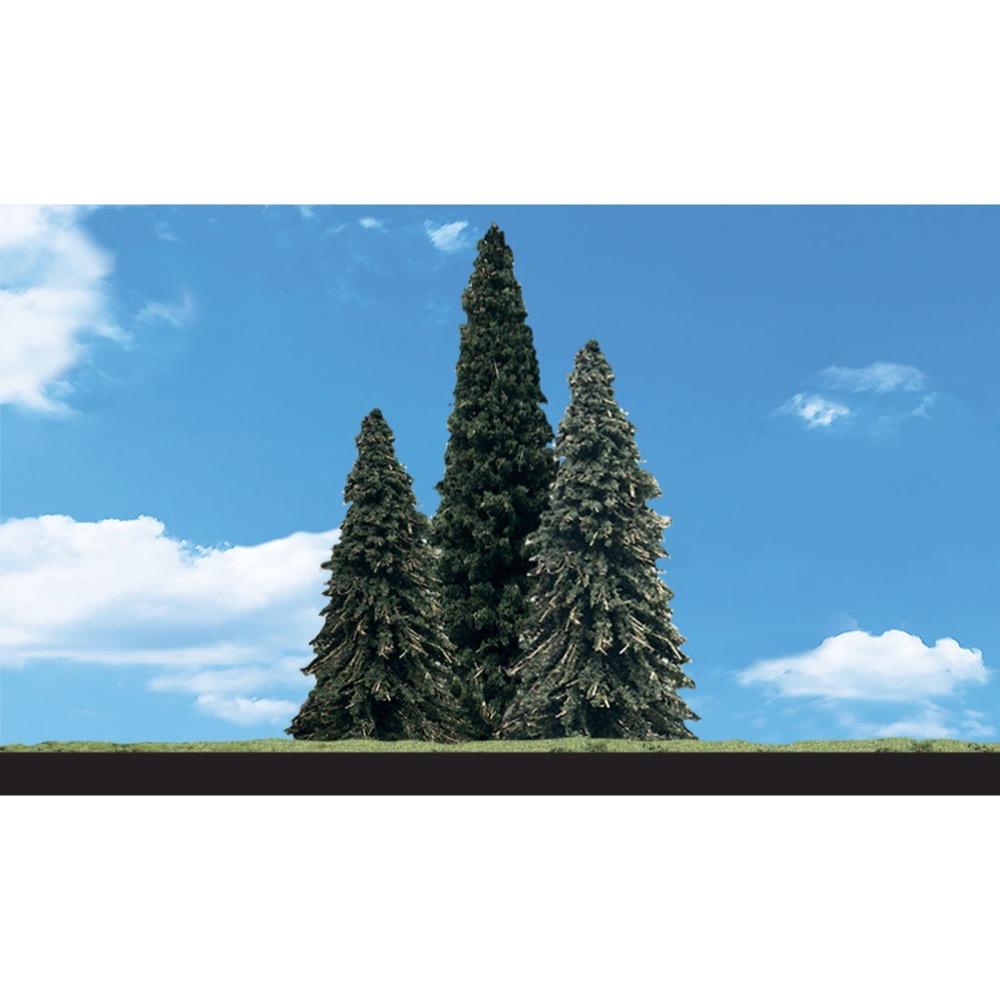
Woodland Scenics TR3573 Forever Green Classic Trees 15-18cm 3pc
Finely detailed, painted, flexible trunks and foliage in a variety of natural contrasts and highlights. Use combinations of types and sizes throughout your layout for superior realism. Trees have planting pin and optional detachable base for temporary placement.
TR3573 - Forever Green - 3/pkg - 6" - 7" (15.2 cm - 17.7 cm)
Noch N07253 Groundcover Foliage Green/Beige
The perfect landscape greening!
Designing realistic grounds in natural colours in next to no time – this is not an issue thanks to the new Groundcover Foliage. What is so special about the innovative Groundcover Foliage? Various grasses and bits of flock material are electrostatically flocked onto black, non-adhesive backing material.
Due to the special, permanently flexible adhesive, the foliage can be effortlessly pulled off the backing material. The Groundcover Foliage is then incorporated into the model landscape as a whole or in pieces. The ground of your model landscape acquires a particularly natural look due to the different lengths and colours of the flock material used. We recommend Landscaping Glue for glueing.
Features
Wafer-thin foliage on sturdy black backing material
Simply pull off and use as a whole or in pieces
Realistically designed with various fibres and flakes
Specifications
Content: 0.02 qm
Width: 180.00 mm
Length: 120.00 mm
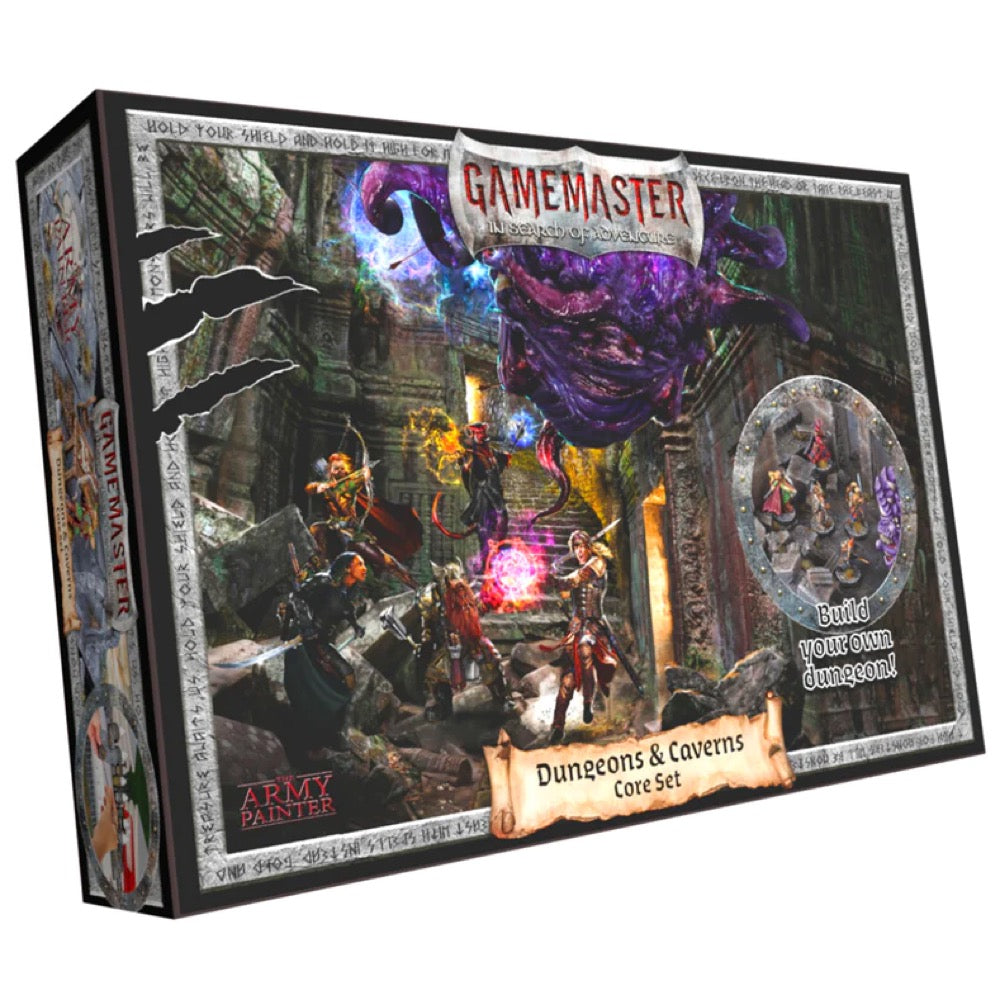
The Army Painter GM1001 GameMaster Dungeons & Caverns Core Set
Whether you descend into murky caverns or tread the pass of ancient Dwarf mines - the GAMEMASTER: Dungeons & Caverns Core Set allows you to create any setting for your roleplaying party. Both fun and extremely easy to build, this set has absolutely EVERYTHING you need to build any subterranean setting - for any RPG system or skirmish miniature game.
Armed with specially manufactured XPS foam board and a versatile hot wire cutter, go crazy and don't let anything but your imagination hold you back! Find inspiration in our many online tutorial videos, or the inspirational guide included in this set, to conjure up any dungeon or cavern complex you might want.
The soft surface of the XPS boards allows you to draw any texture or image, enhancing your gaming experience and blowing the minds of your fellow dungeoneers.
Do it yourself or with your party - once you cut and create your first magic portal, you'll never look back!
Contents
7 x 18ml Warpaints
1 x 50ml Dungeon Base paint
1 x 50ml Cavern Base paint
1 x 75ml Foam Sculpting Glue
1 x Large Drybrush
1 x Medium Drybrush
1 x Wash Brush
300ml Dungeon & Subterrain Terrain Primer
Hot Wire Foam Cutter
150ml Scenery Sand
77 x Dungeon Tufts
Mixing Palette
Scenery Knife
Sandpaper (11 x 28cm)
30cm Steel Ruler
6 pieces XPS Foam Board (200 x 300 x 11mm)
2 pieces XPS Foam Board (300 x 400 x 11mm)
Including a How to Build: Dungeons and Caverns Guidebook to get you started!
Building you very own dungeon (or any other terrain pieces) is fun and a great way to get unique terrain into your games. We havelinked to several great videos on our Youtube channel to get you inspired.
Here is a short explanation on how this set can get you from unpainted XPS foam boards to fantastic terrain that will enhance your gaming experience.
Planning
First of all you need a plan of where you want to go, use a pencil to draw out your plans directly on the foam board.
Texture
Start out by gently sanding the surface of the foam, using random motions, to remove the pattern created by the production process, beware that you don’t create repeating patterns that aren’t intended, or are too pronounced.
Use the Scenery Knife, and then a pencil which widens the gap to create your gaming grid. Don’t cut too deep. We recommend 25 mm or 1 in squares for your grid, which fits well with 28 mm scale miniatures, with each square representing 5 feet.
Then use your creativity to create texture of the ground of your terrain piece. You could use a rock, broken brick or a broken plank - anything goes!
Cut
Now you shape your piece(s) Cut the texturized foam into the modular shapes that you planned out. If you want straight cuts you should use the included steel ruler to guide the Scenery Knife while keeping your fingers safely on the other side. Are you cutting natural shapes then use the Hot Wire Foam Cutter instead and loosely trace the shape, while not caring too much if we follow the line. Press the button to heat the wire and work the wire slowly through the foam.
Make straight cuts with the Scenery Knife on the parts you want to connect to other pieces.
Finally you can add areas of rubble. Start with applying XPS Foam Sculpting Glue, then use an old brush to spread the edge of the glue slightly.
Then apply Scenery Sand on the glued areas, pressing down with a finger to build up the rubble. You can use the rubble to hide any mistakes or areas you don’t like. Gently tap the loose sand off and leave the glue to dry for a couple of hours before proceeding.
Paint
We recommend using the Terrain Primer outside with the pieces on a stirring stick or other holder to keep paint off your fingers. Remember to use protective gear. When priming, try to mix up the angles of your approach, making sure you include a top-down motion to ensure maximum coverage. Depending on your working environment expect at least an hour to dry.
Time to get out your paints and brushes and get your parts painted in the scheme. Have a look at some of the links under tutorials for inspiration on how to paint your terrain.
Shake Paints Well
When you purchase Gamemaster paints, the paint inside might have separated a bit. So to get a good experience you need to shake them like this:
- Shake the bottle hard
- Squeeze out a bit of the separated medium
- Shake for 30 seconds
- Squeeze out a bit of paint to check the consistency
DONE! Creating your first terrain pieces was of course just the beginning! Venturing beyond this point will give you the opportunity to level up and guide you on your quest for varied scenery.
Add Mixing Balls
We also recommend adding two Mixing Balls to your paint to make all that shaking a lot easier!
Keep your paints fresh
The Wet Palette is a game changer! It is designed to keep your paints perfectly preserved between painting sessions. No need to worry about paints drying out, when you return to your project days later.
